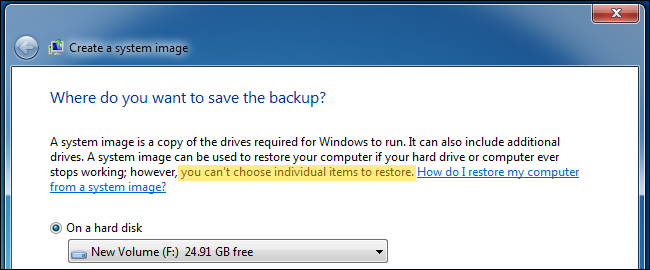
Windows 7's backup control panel has the ability to create full system image backups. While Windows says you can't restore individual files from these backups, there's a way to browse the contents of a system image and extract individual files.
System image backups are meant for restoring an entire system. If you want to easily restore individual files, you should use another type of backup -- but you don't have to restore an entire system image to get a few important files back.
Mount the System Image
First, open the Disk Management application -- type Disk Management into the Start menu and press Enter to do so.

Click the File menu in the Disk Management window and select Attach VHD.

Click the Browse button.

Locate the system image backup file, which will have the .vhd file extension. System images are saved in the following location:
[Drive Letter]\WindowsImageBackup\[Computer Name]\Backup [year-month-day] [hours-minutes-seconds]
For example, if you backed up to drive F:\, you'll find the backups inside F:\WindowsImageBackup\.

Extract Your Files
The mounted VHD system image will appear as a new drive letter in your Computer window. Select Open folder to view files when the AutoPlay dialog appears.

You can browse the contents of your system image as if it were another drive on your computer. For example, your personal files from the system image backup will be located under [drive letter]:\Users\NAME. You can copy and paste them to another drive to extract them from the backup.

Unmount the System Backup Image
Once you're done copying files from the backup, right-click the "Disk" box that corresponds to the VHD in the Disk Management window and select Detach VHD.

Ensure you don't enable the Delete the virtual hard disk file after removing the disk check box or your system image backup will be deleted!
