Tablets may still be new compared to other tech on the market, but even the "normals" have begun buying them en masse. Everyone seems to have something, whether it's an iPad, a Nexus 7, a Kindle Fire, or even a regular e-ink reader. And as many of us know, the commercial sleeves and cases for these gadgets can sometimes be quite expensive for what you get. But we all need to protect our devices somehow, so what are the alternatives?
Three years ago, I wrote a tutorial on sewing your own basic laptop sleeve that ended up being more popular than expected, so we thought we'd resurrect the idea, but tailored for modern tablets. The general gist of the instructions are the same, but since I'm targeting tablet and tablet-like devices this time around, I have updated photos, tips, and dimensions for the most popular tablets (in case you just don't trust your own measuring skills).
I'm using a sewing machine for this tutorial because it's fast and creates more consistent stitches. You may also want to use one for those same reasons (don't be scared, guys, it's machinery just like anything else), but if you don't have access to a machine, no need to worry. All you need to do is sew a straight stitch with a needle and thread—if you need some tips on how to do that, watch this YouTube video first.
What you need:
- Half yard (or so) of outer sleeve fabric
- Half yard of lining fabric
- Thread (any color you want)
- Your tablet's measurements
Optional:
- Sew-on or glue/iron-on velcro, or a button
For this tutorial, I'm using an original Kindle Fire (didn't you hear? Small tablets are all the rage now). But you can adjust your measurements to match whatever mini tablet—or jumbo-sized tablet—you own. Check the list below for the dimensions of some of the most common tablet-like devices, and then: onward! (If I didn't list your tablet, you can usually look on the manufacturer's product page for information, or just search for it on Google/Bing.)
- iPad mini: 7.87" x 5.3" x 0.28"
- iPad: 9.5" x 7.31" x 0.37"
- Kindle Fire: 7.44" x 4.72" x 0.45"
- Kindle Fire HD 8.9": 9.45" x 6.5" x 0.35"
- Nexus 7: 7.81" x 4.72" x 0.41"
- Galaxy Tab 10.1: 10.11" x 6.9" x 0.34"
Just a few tips for fabric selection: choose whatever you like, but you may want to make sure the lining fabric is nice and soft (it's what will be rubbing up against your fancy new tablet, after all). Some people like to use pre-quilted fabric (that you can find at many basic fabric stores, like JoAnn's) to add a little padding to either the outer fabric or the lining. This should be no problem, but keep in mind that the thicker you go, the more difficult it may be later on when it comes to turning things right-side-out.
Get to cutting
Make sure you have the length, width, and thickness measurements of your device ready. Take the thickness and split it in half, and then add that number to both the length and width of the rectangle. So, for example, if your tablet is 7.44" x 4.72" x 0.45", your rectangle measurements are now (roughly) 7.67" x 4.95".
From here, add on a half inch to every side—this is called your "seam allowance," because it allows you to sew around the edges with a little bit of wiggle room. Now, my measurements are about 8.17" x 5.45". If you're like me, you may not have the patience or eyesight to measure fabric down to the hundredth of an inch, so you can round up or down as you see fit—I'm rounding these measurements to 8.25" x 5.5". If you like it a little more snug, round down, but I'll tell you from experience that it'll probably work out better if you err on the larger side (particularly in length). Nothing is more infuriating than spending a couple hours of work, only to find out that you made your sleeve too small.
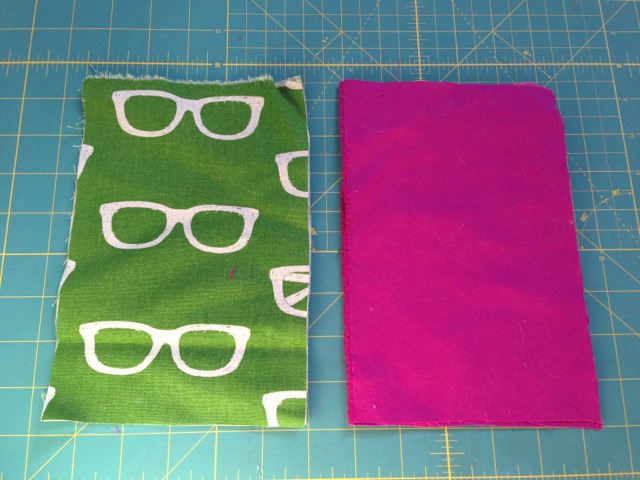
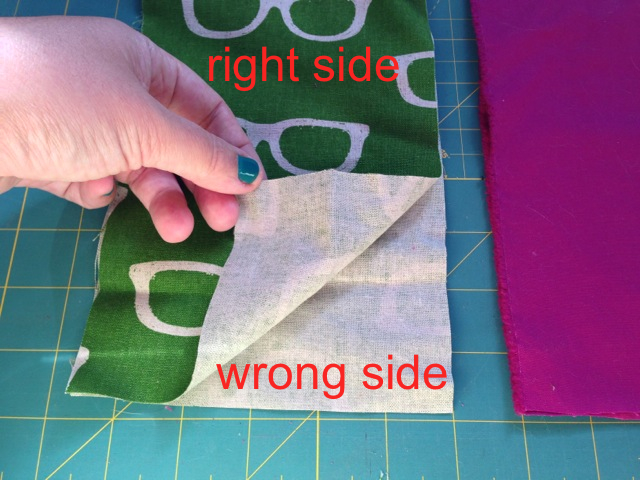
Now it's time to cut: cut rectangles from both your outer fabric and the lining you plan to use. Make sure to cut two of each (fold over your fabric before you cut it, so you only have to cut once). In this tutorial, I'll refer to the "good" side as the "right side" and the inner/ugly side of the fabric as the "wrong side." This applies to both the outer and lining fabrics.
Sewing time
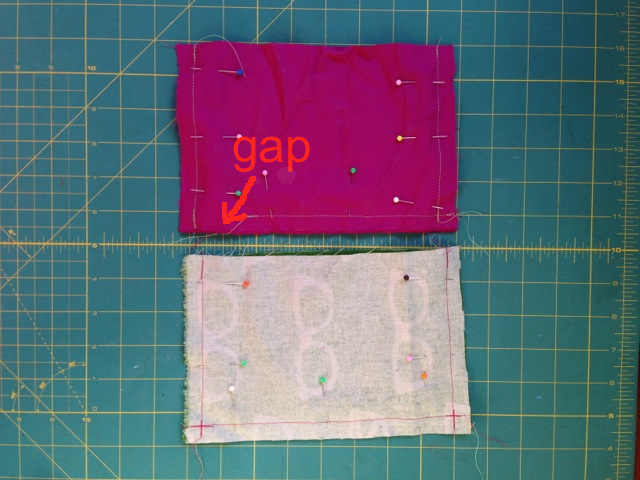
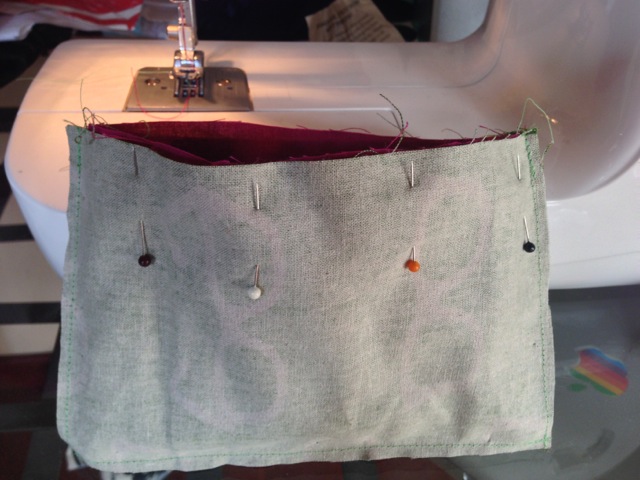
Now, pin together the edges of your two outer rectangles together with right sides facing each other, leaving the top open. Do the same thing (separately) with your lining fabric, but leave a couple-inch gap at the bottom. This is for turning everything right side out later on.
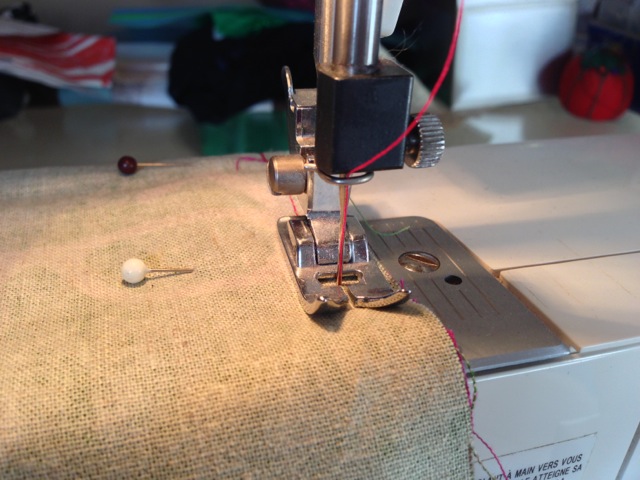
Now** it's time to sew! Whether you're using a machine or sewing by hand, sew around the edges of both your outer and lining fabrics about a half-inch in from the edge, leaving the tops open. (Don't forget to leave the gap open in the bottom of your lining fabric.)
(** If you want to do the optional flap, don't sew just yet—skip to the flap section below before moving forward.)
Turn the lining fabric right side out and position it inside the outer fabric, which is still right side in. Basically, the right sides of both your outer and lining fabric will be facing each other, with the wrong sides both facing out.
Make sure the top edges are lined up and pin them together all the way around. Then sew the top edges of the outer fabric to the lining around the top, again a half-inch from the edge.
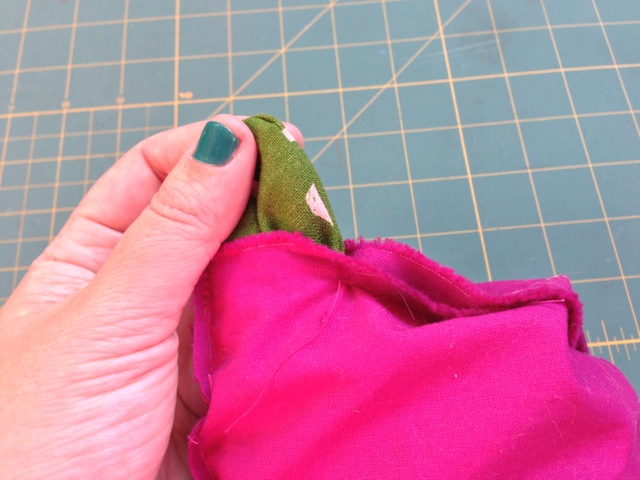
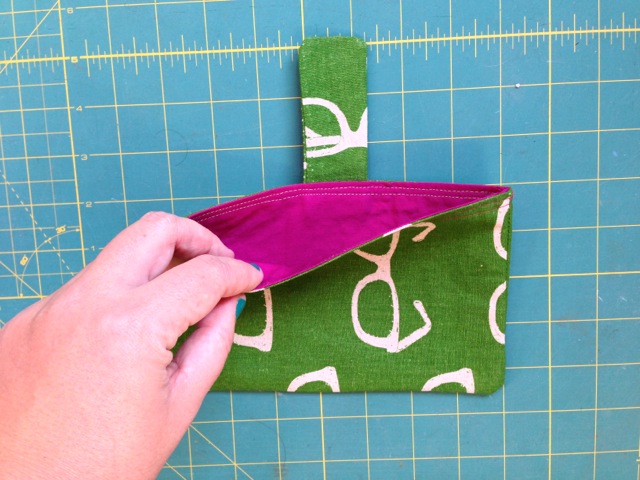
Now you have a sleeve that's completely wrong-side-out. Congratulations! Just kidding: now it's time to make things right in the world and turn it right-side-out. Remember that hole you left in the bottom of the lining fabric? Reach in and begin pulling your outer fabric through the hole until the whole thing comes through and the lining turns right side out as well. Then tuck the lining inside of the outer fabric.
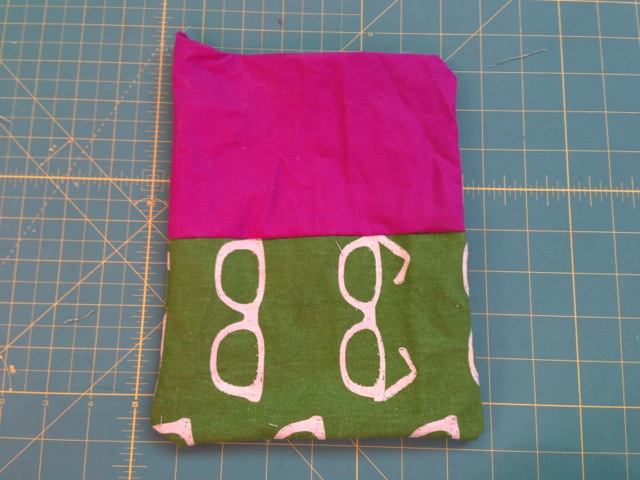
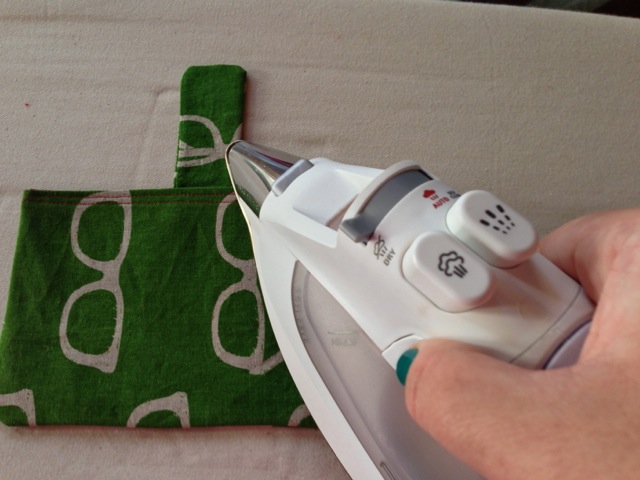
Get out the iron—yes, you probably have one of those lurking around somewhere, too—and press your sleeve flat so it looks nice and crisp.
Don't forget the details
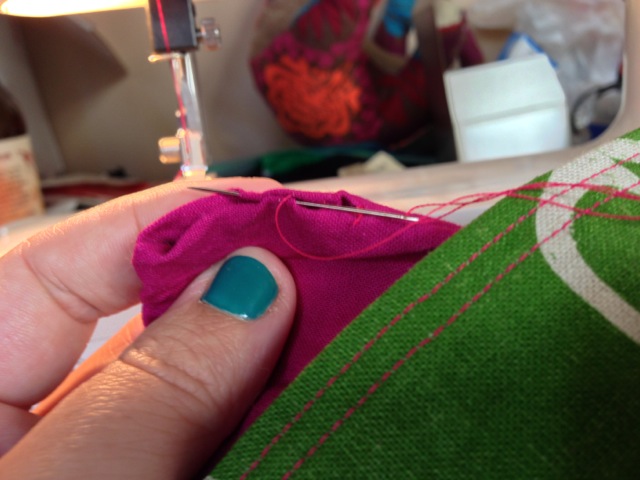
You didn't think you were done yet, did you? You still have to sew up that hole in the lining and do a few other finishing touches. Let's start with the hole in the lining, which you'll be sewing by hand using what's called a "slip stitch." To do this, you'll be sewing the two sides together from the right side, but without the thread showing when you're finished—check out this video for some tips on how to do a slip stitch, although it's not exactly how I do it.
Since you're not hemming some pants or something along those lines, you can grab more than a few threads (like that person is doing in the video) when sewing the two sides together. Make sure your stitches are close enough together so that there's not much of a gap between each stitch, and do this across the length of the hole.
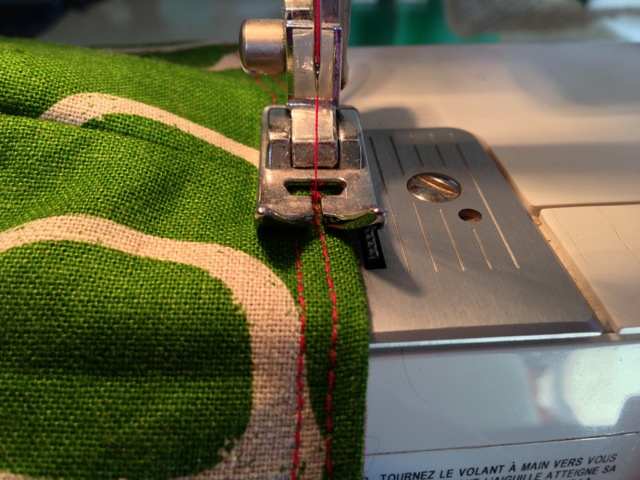
I also like to stitch the upper edge of the sleeve so that the lining is more securely in place. To do this, you'll be sewing a visible line around the top of your sleeve, and some people like to do a double top stitch for decorative purposes. If you have a machine with special stitches, you could even use those for decoration, but be careful for knotted threads since you'll be sewing through several layers of fabric.
If you're not doing the optional flap, you're pretty much done!
Optional flap
Perhaps you don't want your sleeve to be open-ended, lest your tablet slip out in your bag. You can create a strap that will keep your stuff securely inside, or even make a full-length flap to cover the whole opening if your heart desires. If you want to add either of those things, do this before you sew the outer fabric and the lining together.
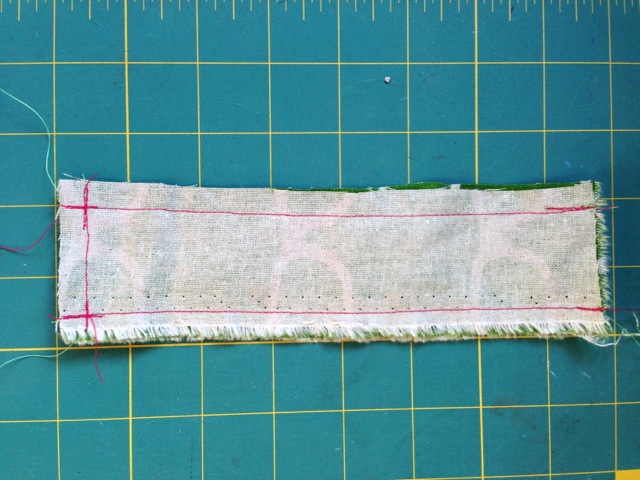
I'm going with the fastening strap for this tutorial. Cut two identical rectangles about 3.5 inches wide and roughly 6 inches long—experiment to get the best shape and size. Put the pieces right sides together and sew around three of the edges, leaving one of the short ends open. Turn the flap right side out and press/iron. You can also top stitch the outer edges if you'd like.
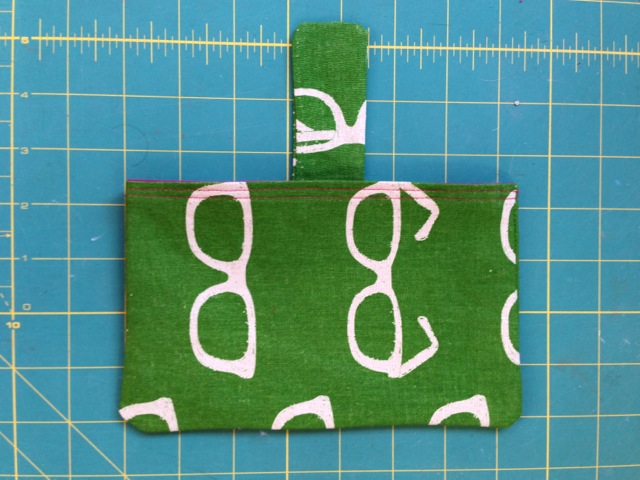
Wedge the flap facing inward in between the outer fabric and the lining, with the raw edge just sticking out the top so you can see it. Pin it so it stays secure, and then sew around the top edge of the entire thing as instructed in the sewing section earlier. After turning your sleeve right side out, your strap/flap will be sticking out one of the sides at the top.
Now's the time to sew or glue your velcro or a button. If you're using velcro, you need to attach each side to the strap and where it will attach on the other side of the sleeve. If you're doing a button (like I am here), choose where the button is going to go on the sleeve, and stitch around where the hole will be on your strap. Then cut through the center of the button hole.
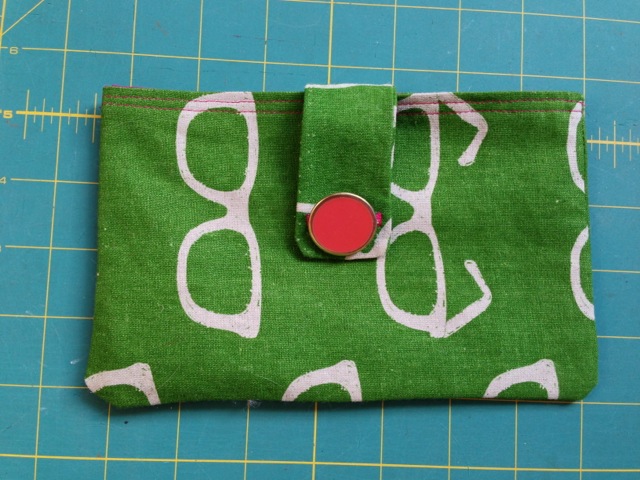
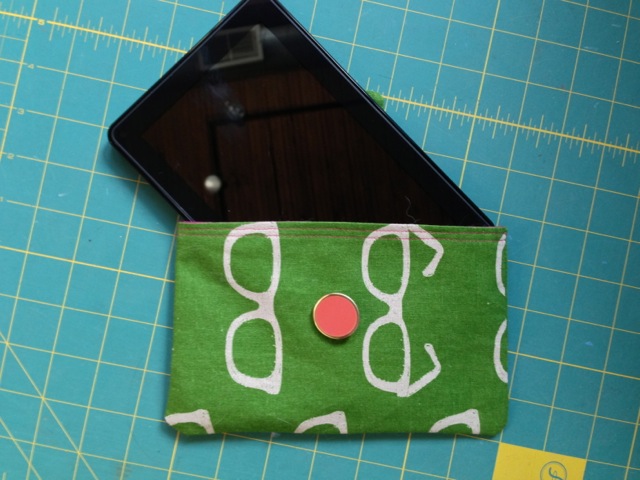
Voilà! You've made your own tablet sleeve. You can apply this to any device, of course, including cameras, laptops, smartphones, and more. But if you're about to own a new iPad mini, or you just bought a Kindle Fire HD, you may want to put your sewing skills to the test, and maybe you can even impress your family members by making sleeves for them over the hoilidays.
reader comments
43